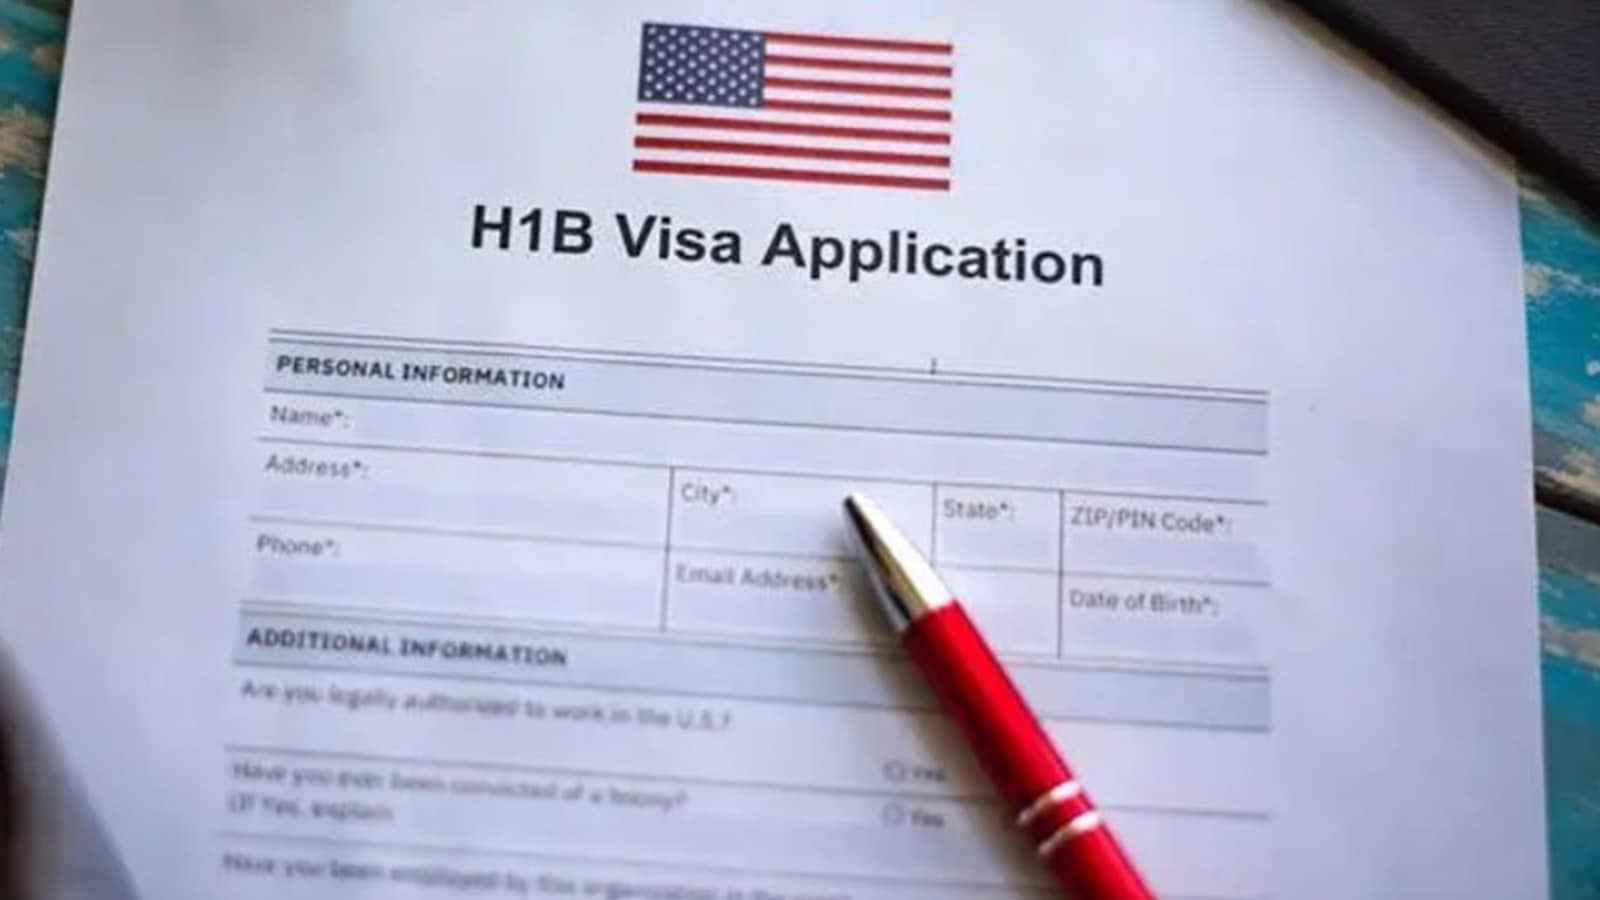
H-1B Visa Electronic Registration Process: Here’s a step-by-step process for online registration
H-1B Visa Electronic Registration: To file an H-1B cap-subject petition, including for beneficiaries qualifying for the advanced degree exemption, petitioners must first register with USCIS electronically.
 H-1B Visa Electronic Registration: Here's how to register for the H-1B visa efficiently with electronic USCIS registration, step-by-step guidance, and tips to avoid common errors.
H-1B Visa Electronic Registration: The H-1B visa, a non-immigrant visa, allows US corporations to hire foreign workers in specialised sectors that need technical or theoretical expertise. Electronic registration improves efficiency by minimising paperwork and data sharing.
How to register for an H-1B visa?
To file an H-1B cap-subject petition, including for beneficiaries qualifying for the advanced degree exemption, petitioners must first register with USCIS electronically.
Further, to submit the H-1B cap selection process, they must have an organisational account, which enables collaboration among many individuals and legal representatives to prepare H-1B registrations, petitions, and Form I-907 (Request for Premium Processing Service).
Step 1: Check the account requirements
One needs to create a myUSCIS account, which is mainly of two types:
- Legal representatives use their existing representative accounts.
- Employers and U.S. agents (registrants) need a dedicated registrant account.
Step 2: Create myUSCIS account
Visit my.uscis.gov and click “Sign Up” in the top right corner. You’ll need to:
- Enter and confirm a unique email address
- Create a password (8-64 characters, including letters, numbers, and special characters)
- Set up two-step verification for security
- Select five security questions for password recovery
- Choose “I am an H-1B registrant” as your account type.
Step 3: Start the registration process
Once logged in, click “File a registration” to begin. You’ll need to provide:
- Your company’s legal name and DBA (or indicate if you don’t have a DBA)
- Authorised signatory details (name, title, phone, email)
- Full name (first, middle, last)
- Gender and date of birth
- Country of birth and citizenship
- Passport number
- Whether they qualify for the advanced degree exemption (master’s cap)
Step 4: Review the details and make the payment
Before submitting, carefully review all information. After that, the authorised signatory statement, you’ll certify that all information is complete and accurate.
Then you’ll be directed to pay.gov to process the fee per beneficiary using a credit card or other accepted payment method.
USCIS issues a unique confirmation number for each beneficiary registration. You can track status updates through your myUSCIS account dashboard or download a CSV file of all your beneficiaries.
Tips to keep in mind:
During the H-1B electronic registration period, the most common user errors include creating the incorrect account type and entering the same beneficiary multiple times.
- 01
- 02
- 03
- 04
- 05


