© IE Online Media Services Pvt Ltd

 Here is how you can take a screenshot on your Windows 10 PC (Image source : File)
If you want to capture a screenshot of what you are viewing on your PC, Windows 10 offers a host of methods for achieving the same. Whether you want to save the entire screen, or just a piece of it, we’ve compiled a list of some of the most common techniques you can use for taking a screenshot on your Windows 10 PC.
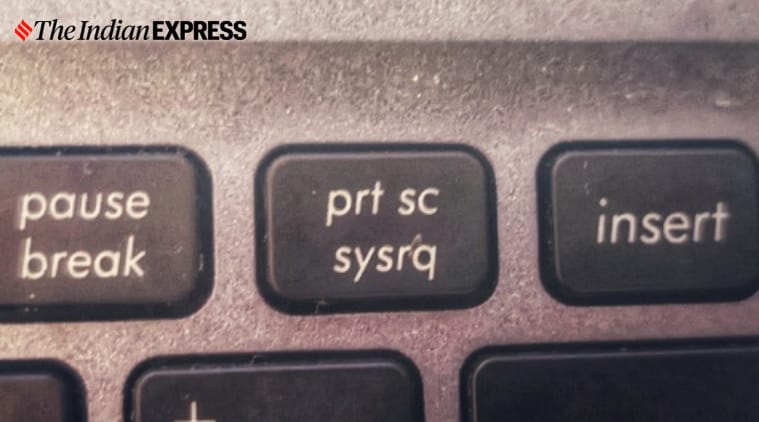
You can take a screenshot by pressing the “Print Screen” key on your keyboard. It’s usually labeled “PrtScn” and is located in the top row, near the Function keys. On some laptops, you might need to trigger the Print Screen using the Function key (in other words, hold the Function key and then press PrtScn).
It is important to note that your screenshot will not be saved as a file, but it will be copied to the clipboard. You will need to open an image editing tool (such as Microsoft Paint) and paste the screenshot in the editor and then save the file.
 Follow these steps to take a screenshot on your Windows 10 PC (Image source: Varun Krishan)
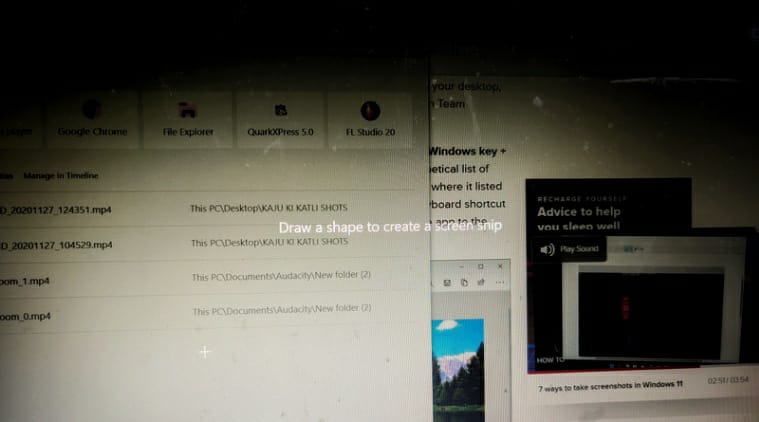 You can make use of the snipping tool to select a portion of your screen while taking screenshot (Image source: Varun Krishan)
Additionally, you can also set the PrtScn button to open the Snip & Sketch tool by going to Settings > Ease of Access > Keyboard and toggling on Use the PrtScn button to open screen snipping under Print Screen Shortcut.
If you wish to capture your entire screen and automatically save the screenshot, tap the Windows key + Print Screen key. The display of your computer will briefly dim to indicate that a screenshot has just been captured. The screenshot will be saved to the Pictures > Screenshots folder.
If you wish to take a quick screenshot of the active window, use the keyboard shortcut Alt + PrtScn. This will snap your currently active window and copy the screenshot to the clipboard. You will then need to open the shot in an image editor to save it.
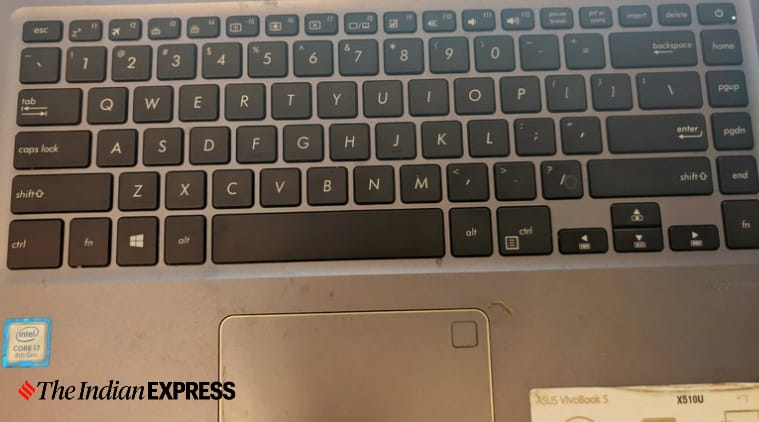 If you wish to take a quick screenshot of the active window, use the keyboard shortcut Alt + PrtScn (Image source: Varun Krishan)
Whether you’re in the middle of playing a game on your PC or not, you can also use the Game bar to capture a screenshot. Press the Windows key + G key to call up the Game bar. You can then click the screenshot button in the Game bar from here, or use the default keyboard shortcut Windows key + Alt + PrtScn to snap a full-screen screenshot.