© IE Online Media Services Pvt Ltd

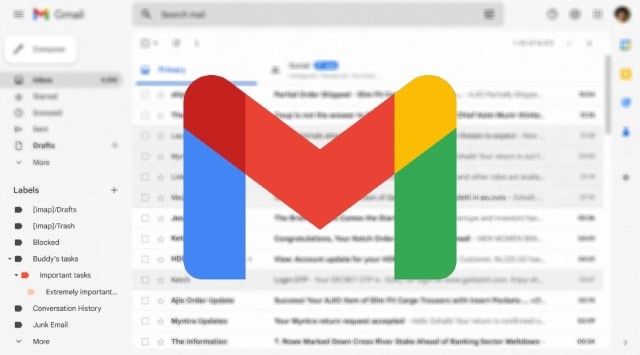 Labels are a powerful tool to organise emails on Gmail (Express photo)
 Do you feel overwhelmed by the number of emails you receive every day? Do you waste time sorting through spam, newsletters, and messages from strangers? If you answered yes to any of these questions, then you need to learn about Gmail labels.
Gmail labels are a simple but effective way to categorise your emails and keep your inbox clean and clutter-free. In this article, we’ll show you how to use them and why they are so useful.
Labels on Gmail are tags that you can create and add to your emails to organise your inbox. Unlike folders, you can apply more than one label to any message and even colour-code them for easy identification. Some benefits of using labels are: you can search them easily, automatically label incoming mails based on rules, and keep your inbox clutter-free.
 Labels can also be colour-coded. Notice the red sublabel on the left sidebar (Express photo)
Track the status of people’s tasks: One way to use labels is to track the progress of tasks that you or others are working on. For example, you can create labels such as Buddy: In Progress and Buddy: Done to indicate which emails are related to Buddy’s tasks and whether they are completed or not.
Organise email by nesting labels: Another way to use labels is to organise your email into categories and subcategories. For example, you can create a label called Tasks to group all the emails that are related to tasks. Then, you can create nested labels under Tasks for each person or project that you are working on. For example, you can have Tasks/Buddy, Tasks/Fren, Tasks/Website, etc.
Identify email that needs follow-up: Sometimes, you may receive emails that require some action or response from you or others. To avoid forgetting or missing these emails, you can use labels to mark them as needing follow-up.
Identify email that can be read later: Some emails may not be urgent or important, but they may still contain useful or interesting information that you want to read later. Use labels to mark them as read later.
Now that you know the various ways you can use labels, let’s learn how you can create them. It’s as easy as pie – there are two ways to create a label:
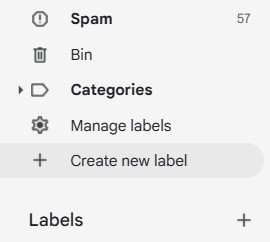
From the sidebar: You’ll find a Create new label option on the left sidebar on the Gmail desktop site under the Categories section. You can also find this menu on the left on the mobile Gmail app.
 The Create new label option on the sidebar (Express photo)
From an email: When you open an email in your inbox, you’ll see a label icon on the top. Here, you can either label your email using one of the existing labels, or you can hit the Create new button from the drop-down menu.
When you’ve created your label and added emails to it, you can access it by selecting it from the list on the left sidebar titled Labels.
On desktop: Open an email and tap on the label icon at the top. Click on one of the labels from the list to add the label to it
On mobile: Open an email, tap on the three-dot menu icon, and hit Change labels and select one of the labels from the list
Yep, this is a thing too. It differs from adding labels to your emails in that adding (or moving) emails to labels hides them from your inbox. Instead, you can only access them from the labels list. This can be useful when an email isn’t urgent but still contains useful information that you would want to refer to later.
To move emails to labels open the email you wish to move and hit the Move to button at the top.
Nested labels are a way to create sub-labels under a main label in Gmail. They help you organise your emails into categories and subcategories for easy access and management. For example, you can have a label called Projects and nested labels for each project under it.
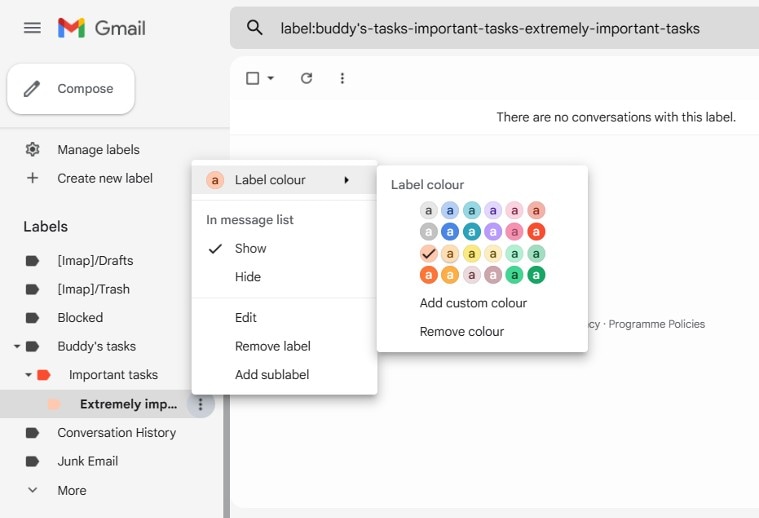 Changing the label colour for a nested label (Express photo)
To create a nested label, you can either click on the three dots icon next to an existing label and choose Add sublabel, or you can click on the label icon on an email and select Create new. You can then name your sub-label and choose which parent label to nest it under.
You can use nested labels to sort your emails by different criteria, such as sender, topic, status, priority, etc. You can also search for emails by label or move emails to labels to hide them from your inbox.